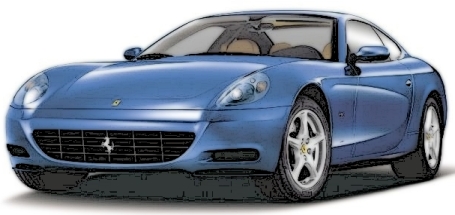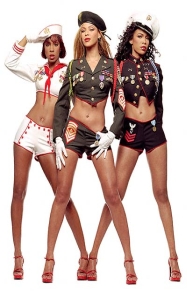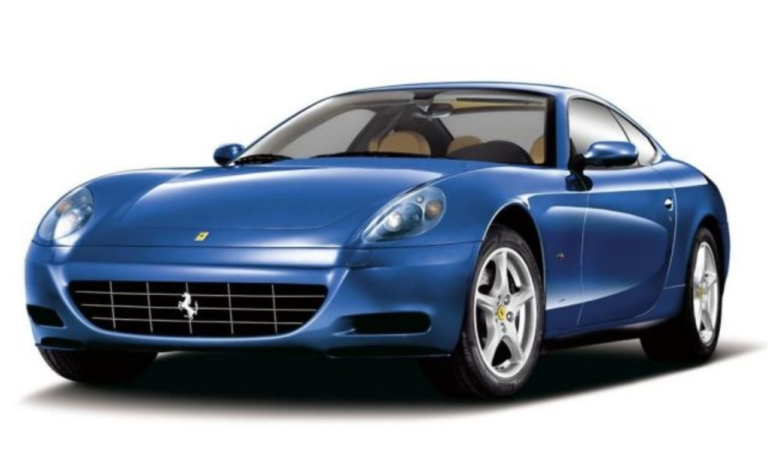
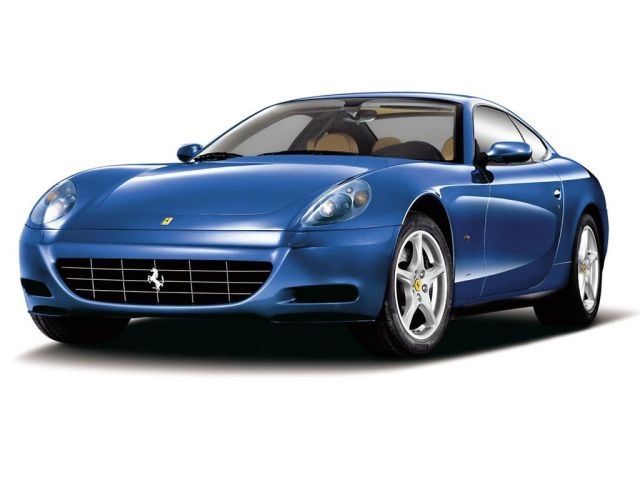
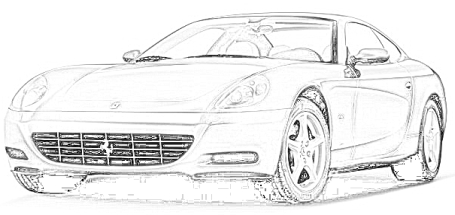
Introduction: In this tutorial, I will explain how to recreate the cartoon effect shown below. It is a nice effect. if you want to convert your stock images into cartoon images. The program I used was Adobe Photoshop, it’s a simple process that anyone can replicate. Follow the tutorial, if you are having a hard time email or post your questions and we will help.
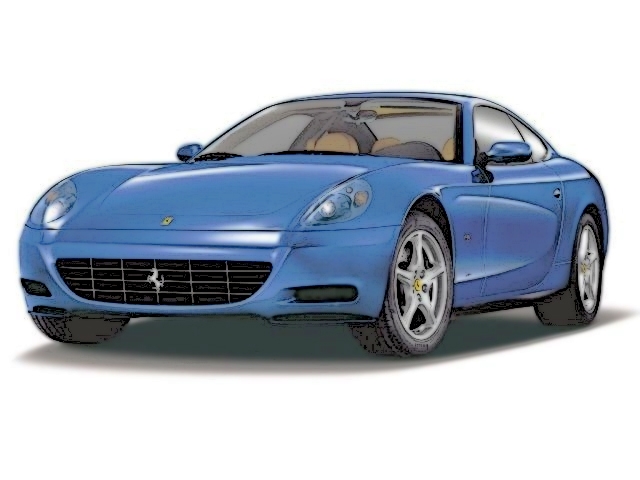
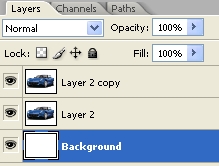
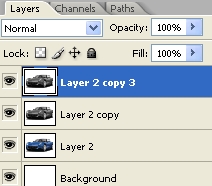
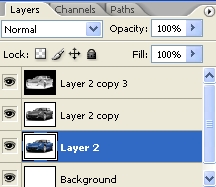
Step1: Open up Photoshop and create a new image Width: 640, Height: 480 pixels. This will change depending on your original image size. Copy (Right-click and Copy) and paste (CTRL+V) the image into Photoshop. With the image pasted into Photoshop, press CTRL+Jto duplicate the layer. You should have three layers now the original Background layer and two of the same layers. Something like I have below.
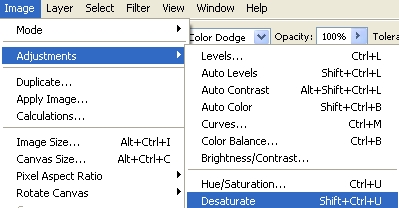
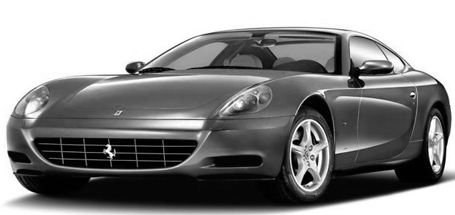
Step2: I am doing this according to the layer name above. Click on “Layer 2” and click Image> Adjustments> Desaturate or(SHIFT+CTRL+U)
with that effect your image should look something like my image below.
Now Duplicate “Layer 2” press CTRL+J or click on Layer> Duplicate Layer… your layers should look like the image below.
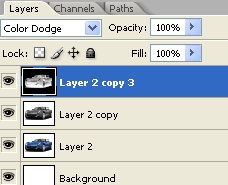
Click on “Layer 2 copy 3” and invert the layer click (CTRL + I), or Image> Adjustments>Invert. After inverting the image change the layer Mode to Color Dodge. You can find the color dodge setting in the Layers window below.
With the Invert and Color Dodge setting your image should look something like the image below.
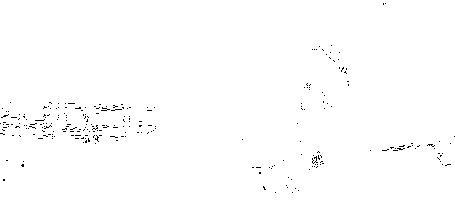
Step3: At this step your image should look like the screenshot above. Now still on “Layer 2 copy 3” click on Filter> Blur> Gaussian Blur.
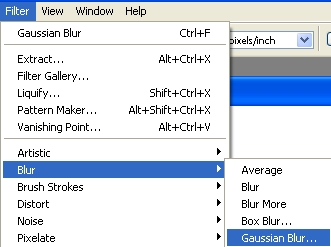
When the Gaussian Blur window comes up change the Radius to 1.5 and click ok. Your picture should look like the image below.
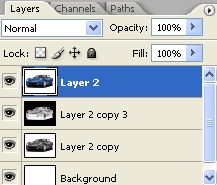
Step4: Now click on “layer 2” and drag it above “Layer 2 copy 3“
Now we need to add Gaussian Blur to “layer 2” Click Filter> Blur> Gaussian Blur and change the radius value between 1.5 and 2.1 and click ok. Change the layer Mode to linear burn, and your fill to 81%.