Display information stored in a database using Dreamweaver and the ASP.NET scripting.
This tutorial will teach you how to use Dreamweaver 8 and its ASP.NET function to display information stored in a database you created. The database and image files needed for this tutorial will be available to you, which will make it very easy to follow; if you have problems, feel free to e-mail us.

In this tutorial, I will teach you how to display information in a database.
Step1: Setting up work space.
For this to work you will need to have the software below installed.
- Dreamweaver 8, this is what I used in the tutorial. I am not sure if you can do this on the previous versions.
- Windows XP Professional
- (IIS) Internet Information Services has to be installed.
- Follow this tutorial to install IIS ( Click Here )
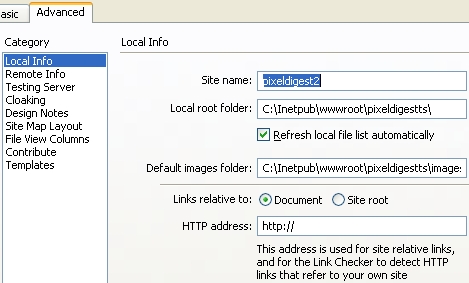
Also, you have to setup your site definition. This will include the Local Information and Testing Server for ASP.NET VB As shown below. After you get that going asp_net_pack which includes the database and images.
At this point I will take it that you have Dreamweaver setup and can run asp.NET pages. And you have the database and image folder inside the “Inetpub\wwwroot\yoursitename\”folder
Step2: Creating a database connection and Dataset.
Click File New… and click on Dynamic Page ASP.NET VB and click Create. Hit Ctrl+Sand save your site as default or what ever you want.
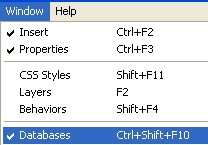
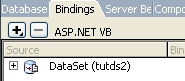
After that click on the Windows tab and make sure Databases is checked.
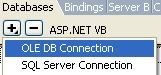
Click on the Shown in the databases tab and click on OLE DB Connection
With that fill in the information below.
Connection Name: tutbd
Next click on the Build Button and the window blow should come up
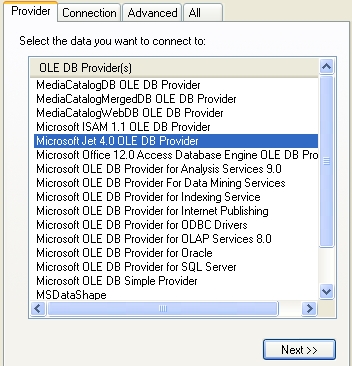
From the Provider tab select “Microsoft Jet 4.0 OLE DB Provider” and click Next. With that the window below should come up.
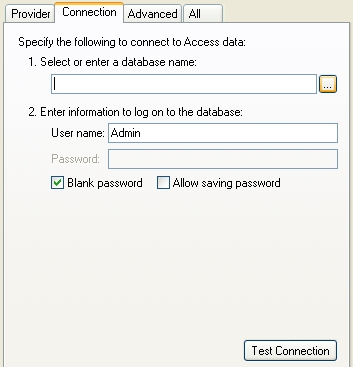
Click on the button next to the “Select or enter a database name” and browse to your database file. Mine is C:\Inetpub\wwwroot\pixeldigestts\database\tutdb.mdb
After that Hit the Test Connection Button, and it should be successful. With that click ok. Make sure you connection string look similar to what I have below.
“Provider=Microsoft.Jet.OLEDB.4.0;
Data Source=C:\Inetpub\wwwroot\pixeldigestts\database\tutdb.mdb”
At this point you should be in the OLE DB Connection window, click on the test button

If you see the message above, that mean you are going good so far. Click ok, and Ok again. In the Application window click on the
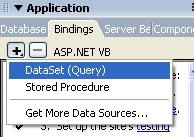
and select DataSet (Query), with that you should see the window below.
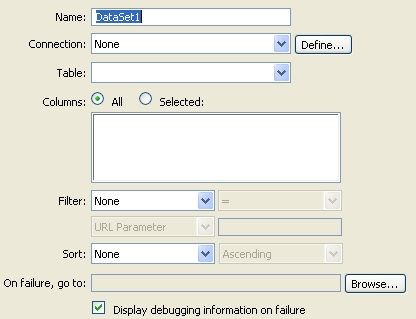
Fill in the information according to the image below.
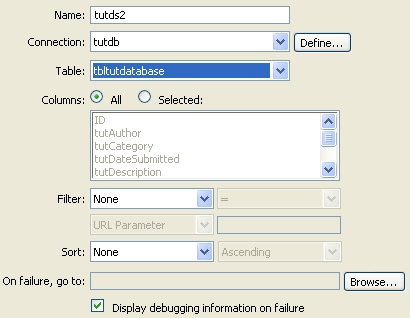
After that click ok. Now you should have the dataset shown below
Click on the Little + next to the dataset and you should see all your records in the database.

Step3: Preparing the page to add the information.
Create the table shown below.

You can copy this code and paste it into Dreamweaver code view if you have a hard time building the table.
<table width=”518″ border=”1″ cellpadding=”0″ cellspacing=”1″ bordercolor=”#CCCCCC”>
<tr>
<td width=”67″ rowspan=”3″ align=”center” valign=”top”> </td>
<td colspan=”4″> </td>
</tr>
<tr>
<td colspan=”4″><table width=”300″ border=”0″ cellspacing=”0″ cellpadding=”0″>
<tr>
<td> </td>
</tr>
</table></td>
</tr>
<tr>
<td width=”94″> </td>
<td width=”96″> </td>
<td width=”110″> </td>
<td width=”123″> </td>
</tr>
</table>
From the dataset

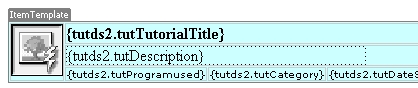
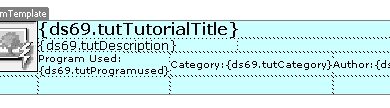
Drag the name into the table to look like the file below.

To add an image click on image icon and click on Data Source
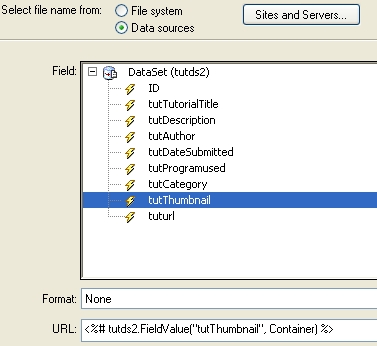
Now select the “tutThumbnail” and click ok twice. At this point you table should look like the image below.

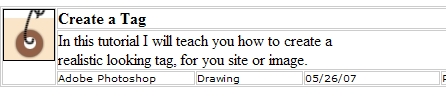
Hit F+12 to preview you work. It should look like the image below.
Step4: Displaying all the records in the database.
Click on the table and select the table code shown below.
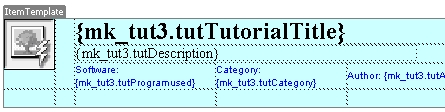
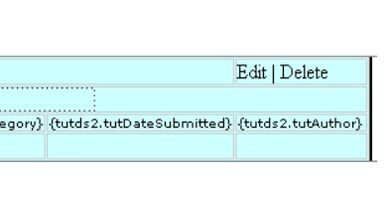
When you click on the table it will select your table. With the table selected click on Server behavior located in the Application window. From there click on the and select Repeat Region
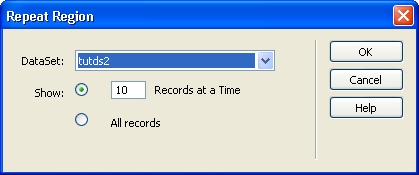
When the window above comes up click on All Records and press ok. With that your table should change a little, the Item Template should come around it.
Preview your page, and you should see all the records in the database.
Finished:
Well that is it, hope it came out to what you expected.