Learn how to create a hanging ribbon effect using adobe Photoshop. It is a simple tutorial for beginners, follow along and learn how to create this effect. Any questions feel free to email or leave a comment.
Step 1:
Create a new document. First click on the “Rectangle Tool” shown below.

Create a new layer and draw the square shown below.

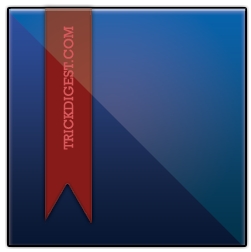
Click PSCS3Icon and download this style, install it and apply it to the square. This will give you the effect below.

Step 2:
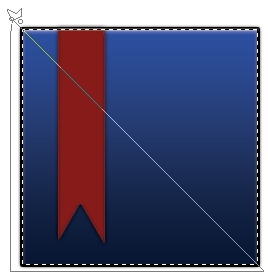
Create a new layer, click Ribbon, and download the ribbon shape, using this color #861b1a apply it to the square as shown.
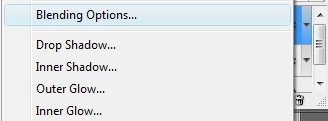
Select Blending Options as shown below.
Apply the setting shown
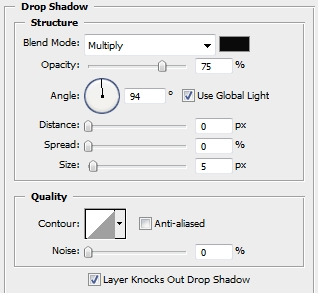
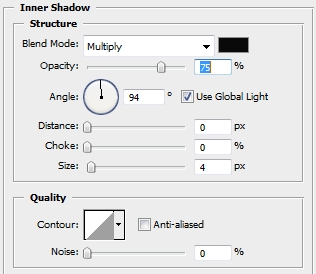
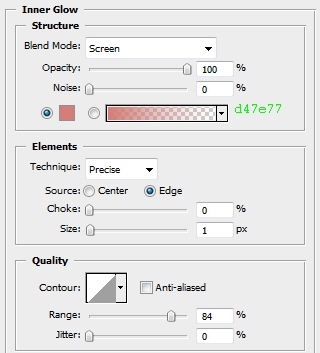
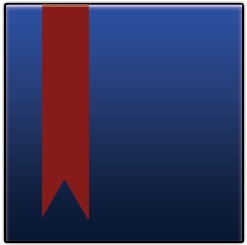
Click ok to apply the setting, With that you will have the effect below.
Step 3:
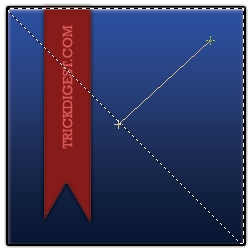
Click to select the square, with the shape selected create a new layer. Using the Polygonal Lasso Tool with the setting below.

Cut the selection in half as shown using the Polygonal Lasso Tool
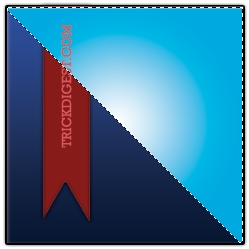
Click on the Gradient Tool

Create a new layer, Using the setting

Apply the gradient to the shape, from the middle to the top.
Doing that will give you the effect shown below.
Now change the Layer Opacity to 21%
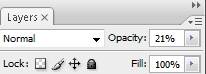
By doing that you will get the effect below.

Now just apply some text and you are finished.